Form follows function.
Right?
In the practical since, yes ... but sometimes the concept comes first and drives amazing design. Occasionally art can be practical too. For furniture with an alter ego, check out these pieces that cross the line of art and function.
The Bloom MGX lamp by Patrik Jouin is designed to "bloom" to either diffuse or allow more light.
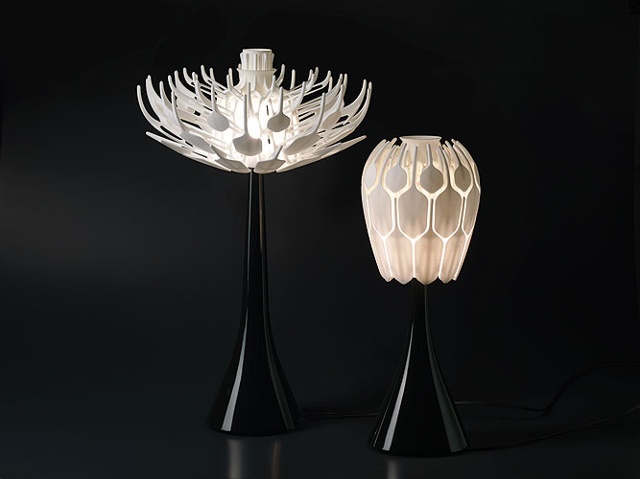 |
| photo by Thomas Duval |
 |
| photo by Thomas Duval |
THe Muslavi Gallery in the UK is a distributor of Laskowscy Design furniture. Their designs try to blur the edge of where the object ends and something else begins. For example the graphic on the Ikebana coffee table spills onto the floor.

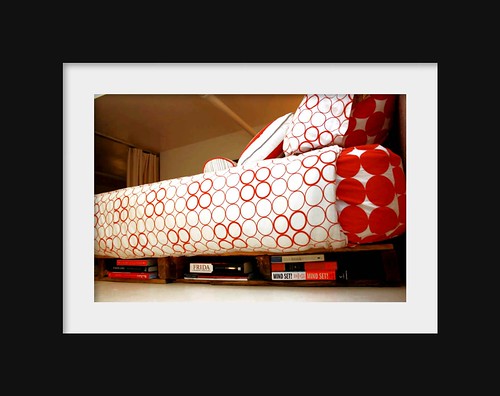
The Artistic 4 Chaise can be yours for the low, low, low price of $6,500 + shipping.... ok I don't mean to be sarcastic. All jokes aside, this piece is designed to follow the curves of the body and is supposedly quite comfortable. In addition to the ergonomically correct construction, this chaise will make a statement in any room.
.jpg)


